




















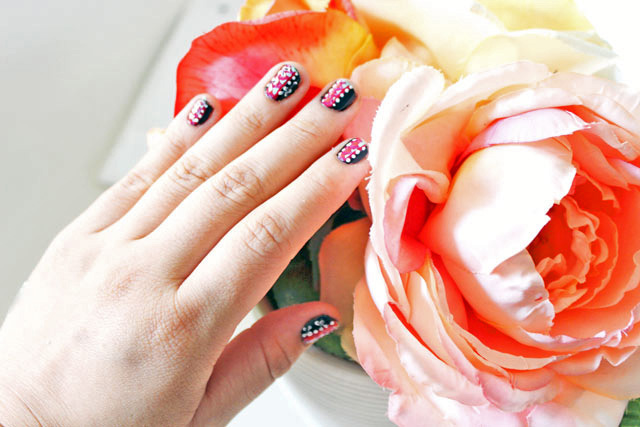
[dropcap]W[/dropcap]e love everything about Spring from the crisp air and blooming flowers to the pastels and bright prints everywhere. In fact, we love the rich, vibrant colors so much, we were inspired to create a spring nail art that pays tribute to everything we love about our favorite season. This simple, but quirky nail art is incredibly easy to do but definitely makes a statement, and the best part it’s designed specifically with our short nail gals in mind. Learn how to recreate this look for spring.
[tabs]
[tab title=”What You Need” icon=”entypo-book”][/tab]
[/tabs]
- Black Nail Polish
[What we used: Tarred from Obsessive Compulsive Cosmetics]
- Coral/Bright Orange Nail Polish
[What we used: Jaffa from Butter London]
- Mint Green Nail Polish
[What we used: Neely from Zoya]
- Pink/Fuchsia Nail Polish
[What we used: Drew from Julep]
- White Nail Polish
[What we used: Pointe Blanche from ORLY]
- Top Coat & Base Coat
[What We used: ColorStay Top Coat & Base Coat from Revlon]
- A thin nail art brush
- Dotting tool or tooth pick
- Tape
[tabs]
[tab title=”How To” icon=”entypo-book”][/tab]
[/tabs]
Step 1
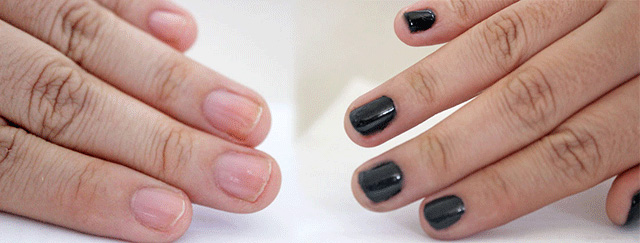
First prep your nails by applying a base coat. Next apply two coats of your opaque nail polish. Let your nails dry completely before proceeding to step two.
Step 2
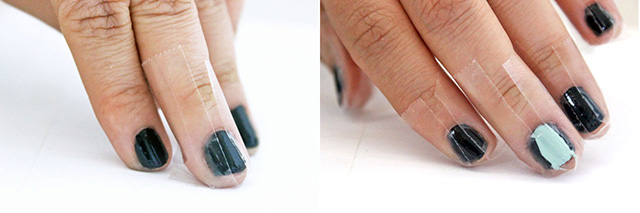
It’s now time to tape the nails on each side of each nail, leaving a gap in the middle (as shown above). Make sure to tape all the nails before using the next nail polish. Once all the nails are taped, apply a mint nail polish on the gap you left bare. Depending on the nail polish, you may need to apply two coats to make sure the color is nice and opaque. Let the nails dry completely before you take off the tape.
Step 3
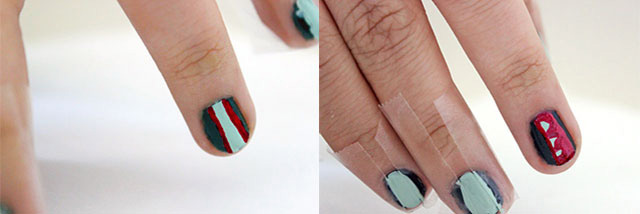
Take your bright fuchsia nail polish and make two lines where the mint and black nail polish meet (as shown above). Next start making triangle patterns on the mint polish. Let it dry.
Step 4
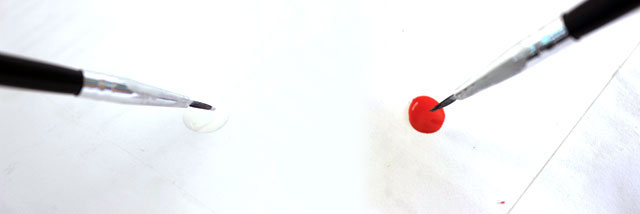
Time to start add some detail to the nails. Dip you nail art brush or dotting tool in a white polish and make small dots on the left and right side of each nail. Next dip into your orange nail polish and make dots on the center on top of the fuchsia and mint.
Step 5
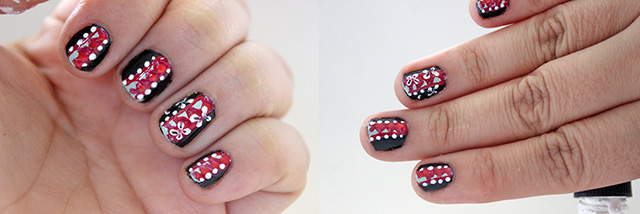
We chose to add three small flowers to the three fingers. To do the flowers, apply four dots on the nail. Take a toothpick, lightly drag each of the dots towards the center to create a flower. Do the same two more times.
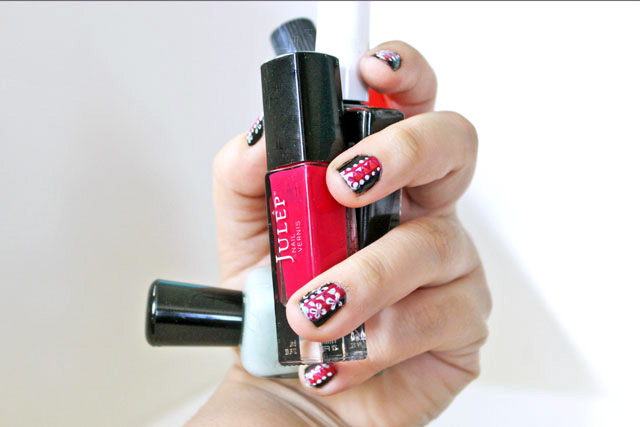
Voila you’re spring inspired nail art is done!