




















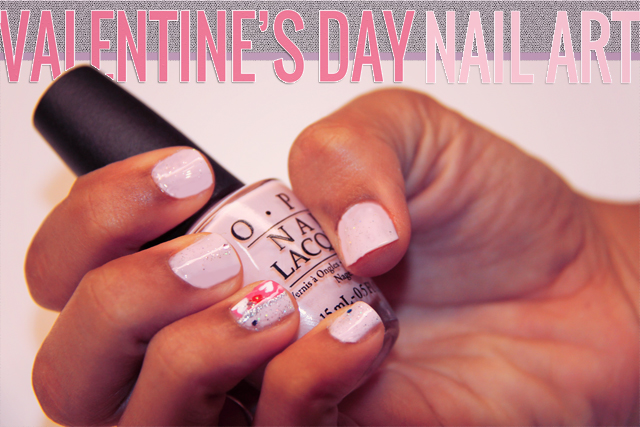
 [dropcap]W[/dropcap]ith Valentine’s Day just right around the corner, we knew we had to come up with romantic Valentine’s Day ideas to celebrate the day of love. So inspired by all things romance, we opted for a fresh, feminine color palette of pinks, reds, whites, and of course, glitter to create a simple, but chic nail art featuring fun, colorful hearts. Read on for step by step instructions on how you can to glam up your nails for this special occasion too. [tabs] [tab title=”What You Need” icon=”entypo-book”][/tab] [/tabs]
- Nail Polish Colors: Light Pink, Dark Pink, Red, White, & Glitter
- Silver Striper
- Base Coat
- Top Coat
- Small Doting Tool
- A towel or newspaper (optional)
Optional Tools
- Nail Polish Remover & Q-Tips (to clean up the nails)
- Cuticle Oil & Hand Cream (to keep nails and hands hydrated)
[tabs] [tab title=”Directions” icon=”entypo-book”][/tab] [/tabs] 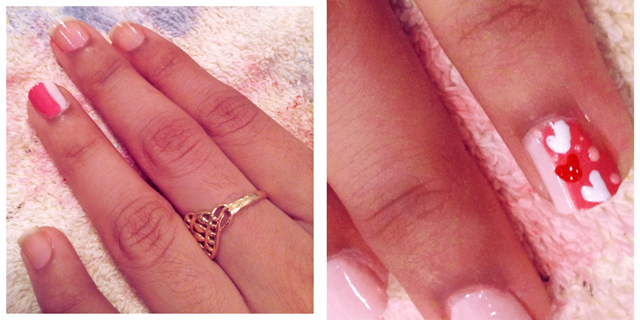
Step 1: Apply a favorite base coat to all your nails. Make sure you’ve prepped your nails prior to this step.
Step 2: Take a dark pink polish and paint 3/4 of your ring finger, and the other 1/4, a light pink polish. Let it dry.
Step 3: Proceed to paint two coats of same light pink polish you used on the rest of your nails. Tip: You may need to apply more than two coats, depending on how opaque you want it. However, be careful to not overdo to avoid clumping.
Step 4: Dip a small dotting tool into a white nail polish to create two hearts on the dark pink polish section you painted on ring finger earlier. Next dip the dotting tool in a red polish and create one red heart right next to the white hearts you painted. And then finally, dip the dotting tool in the light pink polish to create small dots around the hearts. Let it dry. Tips: Make sure to clean the dotting after each use to avoid any mixing of the colors.
Step 5: Now take a silver (or black) striper, and create a stripe where the light and dark pink polish meet on your ring finger. To add a sparkly touch, apply a glitter polish (a clear one preferable) to all the nails. Let it dry.
Step 6: Finish off the nail art by applying a fast drying top coat. And voila! You have now have fun, chic nails for Valentine’s Day.
Don’t forget to check out the video tutorial we did on how to do these Valentine-inspired nails.