





















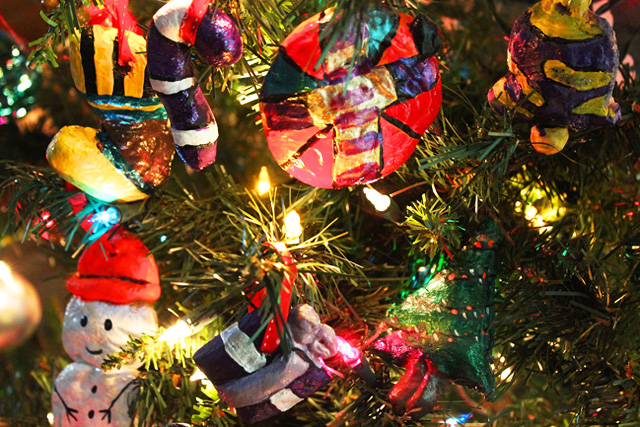
[dropcap]F[/dropcap]rom the glittering lights to the hot steam cup of hot coco, we love all the holiday festivities. But what we love the most is decorating the tree. And what better way to add a personal touch to our tree than making our very own homemade ornaments. Not only is this fun DIY crafts project easy to do, these ornaments make great stocking stuffers.
[tabs]
[tab title=”How To: Bake Ornaments” icon=”entypo-book”][/tab]
[/tabs]
What We Need
For Ornaments
- 4 cups of Flour
- 1 cup of Salt
- 1 1/3 – 2 cups of Water
- Extra flour to keep dough from sticking
- Extra water to serve as glue
- A baking roller
- A Sharp knife
- A Circle-shaped cookie cutter
- A pencil or pen
- Parchment Paper
Directions
Step 1: Combine flour and salt, making sure to mix everything together. Add the water next. If the dough needs a bit more add a bit more water. However, dough should be stiff not sticky. Knead the dough for 3-5 minutes or until it’s no longer soft.
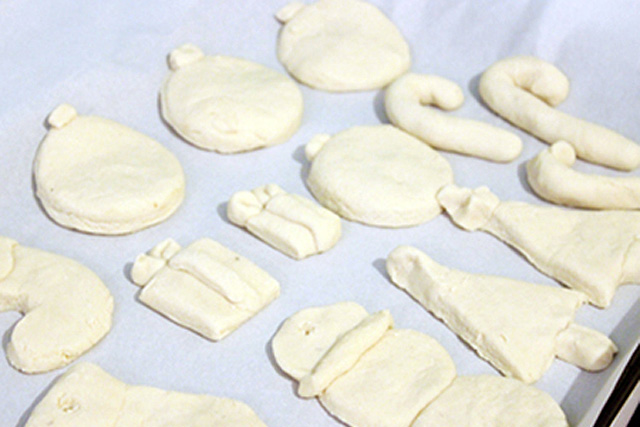
Step 2: Start cutting the dough into varying sizes depending on what type of shape we want. Once we have the different balls of dough, it’s time roll them out. Using a baking roller (dust it with flour beforehand) or our palms start flatting the dough no more than 1 inch thick.
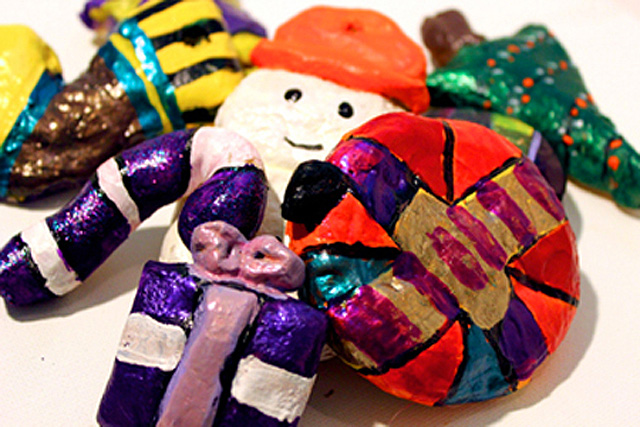
Step 3: Take a knife or a circle-shaped cookie cutter to start making the shapes. Popular shapes: Santas, Candy canes, Snowmans, Stockings and Santa hats. Use water to glue pieces together.
[Preheat Oven at 325° degrees]
Step 4: Once all the shapes have been done, take a pencil and make a hole in the dough (on top preferably) so we can run a ribbon or hook through to hang them on the tree. Tip: Make sure the hole is well defined as it can shrink considerably when we put the ornaments to bake.
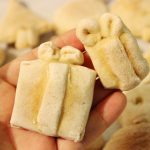
Step 5: Line a baking sheet with parchment paper and bake them at 325° degrees for 1 hour. Make sure to check on them midway through baking.
Step 5: Once the ornaments are done, take them off the oven and let them cool completely.
[tabs]
[tab title=”How To: Decorate Ornaments” icon=”entypo-book”][/tab]
[/tabs]
What We Need
- A Variety of Watercolors or Acrylic Paint
- Clear Nail Polish or Polyurethane sealer (water based)
- Art Brushes in various sizes
- Loose glitter (optional)
- Ribbon and tree hooks to hang
Directions
- For those using Watercolors: Paint the ornaments and then line them back on the baking sheet. Bake them again for 15 mins. Next paint or dip them in polyuerthane sealer or clear nail polish.
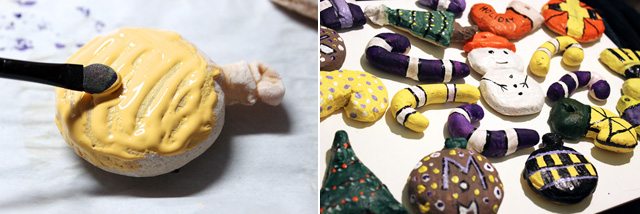
- For those using Acrylic Paint: Paint the ornaments but don’t bake them a second time. Proceed with sealing them with polyuerthane sealer or clear nail polish. Stick a ribbon or tree hook in the holes we made in the ornaments and hang them on the tree. Voila, our holiday are now done!
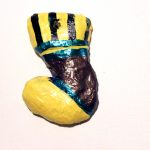


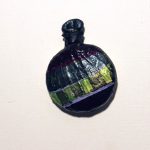
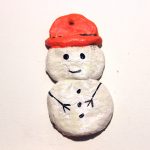
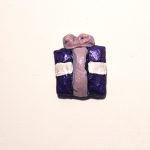
If you decide to try this, definitely tweet us your pics so we can see them by using the hashtag #holidaychic









This reminds me of my childhood. So cute! I should make some for my Jack.Thanks
Let us know if you guys decide to make these ornaments, we’d love to see them!