

















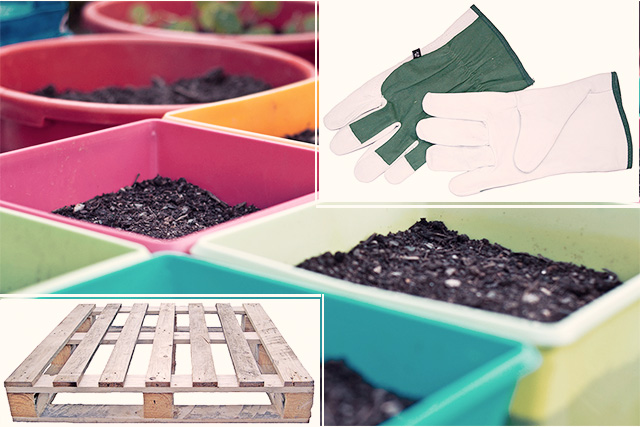
[dropcap]S[/dropcap]pring is a great season to start-up a garden no matter where you live as they can add color, liveliness and overall character to your space. They also improve both outdoor and indoor air quality, while creating a stark contrast to the impact cold urban environment makes. Now planting your own oasis in an urban setting can seem like a difficult DIY project at first, especially if you lack space or resources. This is why using a wood pallet is the best solution for you. Wood pallets are easy to obtain (or build) and even easier to work with. Here is a short tutorial of how to turn them into your dream garden for spring.
[tabs]
[tab title=”Let the Right One in” icon=”entypo-book”][/tab]
[/tabs]
First step is, of course, to get a wood pallet. We suggest stopping by a local store that carries large equipment to see if they have any unwanted and unused pallets you can take off their hands for free. Knowing how to select from different wooden pallets is not really that hard. They key is to look for one that shows no signs of rot, nails are not sticking out, and all the boards are in relatively good condition. If you are planning to grow edibles like vegetables, make sure that the wood pallets are heat-treated and not chemically sealed.
[tabs]
[tab title=”Know Your Supplies” icon=”entypo-book”][/tab]
[/tabs]
Other than your pallet, your DIY garden project also requires 16 six packs of annual flowers (one for the each opening on your palette and two for the top), two large bags of potting soil, roll of landscape fabric, sandpaper, staples and, of course, a stapling gun. Marigolds, Morning Glories and Poppies are some of the most popular annual flower combinations, but again match your garden to your preference and taste.
[tabs]
[tab title=”Freshen Your Pallet” icon=”entypo-book”][/tab]
[/tabs]
No matter how well you choose a pallet, your still have some work to do on it before you can even start gardening. It is important to do two to three inspection checks to see if there are any remaining loose nails and chipped wood that could be potentially dangerous. If you do find any loose ends, just simply nail down the loose spots and use the sand paper to smooth any rough areas. If you want a more visually appealing effect, paint the pallet with a water-resistant paint. Believe us, making these small changes can make a drastic difference in the long run.
[tabs]
[tab title=”Bring up the Guns!” icon=”entypo-book”][/tab]
[/tabs]
Let’s put your staple gun to work. To ready your wood pallet, you will have to cover the back, bottom and the sides of your pallet with landscape fabric, so choose wisely which side you want to show. Lay the pallet down and roll the fabric over the back, twice if you think that it is too thin. Staple the fabric near the edge of the board and pull it taut, stapling every two inches around the edges. Apply this to the whole pallet until the sides and the back are covered with fabric. Remember you want your fabric as tight as possible so staple more along the spine of the pallet, or anywhere you need it.
[tabs]
[tab title=”Time for the Main Course” icon=”entypo-book”][/tab]
[/tabs]
It is finally time to actually plant something, so Lay down your pallet face up, slide the plants into the intended top side of the pallet and plant them very tightly. Once the top is caped, pour entire bag of potting soil on the top, pushing it into pallet through the slots. Repeat the whole process with the second bag. Next make a little trench below every opening and plant six plants in each trench. Make sure they are tightly fitted so they completely cover every opening when you are done. Keep your pallet in a horizontal position for a couple of weeks so the roots can grow and keep the plants in that position. This last step is very crucial, so be patient.
After all the hard work is done, there are only two things left for you to do. Enjoy your new garden and show off your amazing green thumb to your friends and family. Happy spring gardening!