





















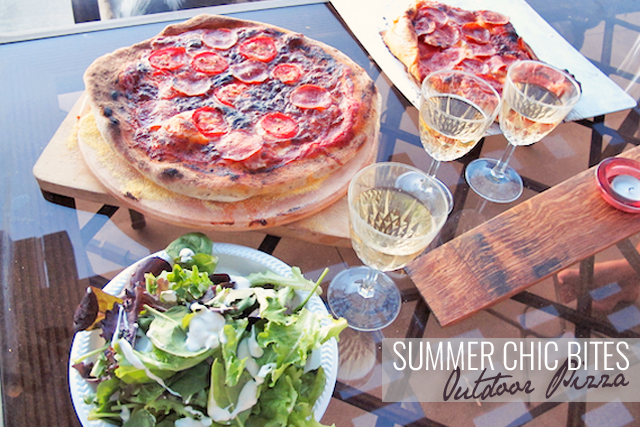
[dropcap]What better way to enjoy the summer than to put on our aprons and take our cooking outdoors. So in the spirit of checking off an item off our culinary bucket list, we decided to try our hand at pizza making for the first time and bake it in an outdoor pizza oven instead. After a few baking mishaps and pizza sauce stains later, we were successful in baking a delicious pizza–the perfect centerpiece for our summer dinner party. We loved baking our own pizzas that we wanted to share our experience and offer cooking tips on how to make and bake an outdoor pizza.
[tabs]
[tab title=”What You Need” icon=”entypo-book”][/tab]
[/tabs]
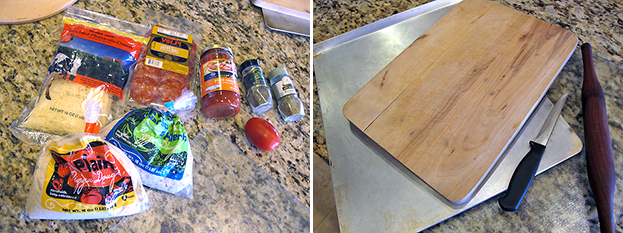
Ingredients
[one_half]1-2 (1lb) Trader Joes dough pizza
16 ounces of Shredded Mozzarella cheese (or any cheese of preference)
12 ounces of pepperoni (optional)
1 pizza sauce jar
1 medium organic tomato[/one_half]
[one_half_last]Italian Seasoning
Basil flakes (or fresh basil)
Olive Oil
1 cup of Cornmeal
Flour for rolling[/one_half_last]
Tools/Equipment
[one_third]Rolling Pin
Large Nonsticking cookie sheet or Wood Plank
Knife[/one_third]
[one_third]Outdoor Pizza Oven
Pizza Baking Stone
Oven mitts[/one_third]
[one_third_last]A Stainless Steel Grill Spatula
Pizza Paddle (recommended)
Pizza Cutter[/one_third_last]
PreStep: Preparation is Key!
The first lesson we learned the hard way was preparation is key. Make sure to have all the tools out, as well as the ingredients poured in individual bowls and ready for when you need them. This will help you immensely, especially when it comes time to start arranging the topping on to your pizza and transferring it to the outdoor pizza oven.
Tip: You’ll need to set timers on your phone or kitchen clock throughout the pizza baking process.
[tabs]
[tab title=”Step 1: Dough Business” icon=”entypo-book”][/tab]
[/tabs]
If you may want to make your own pizza dough (great recipe here) then go right ahead, but we chose to save some cooking time by purchasing a few pre-made pizza doughs from Trader Joes. Check your local grocery store to see if they have them too.
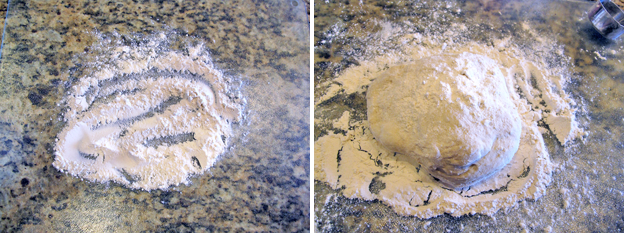
Now before rolling out your dough, dust a bit of flour on your clean surface and rolling pin. This will keep the dough from sticking.
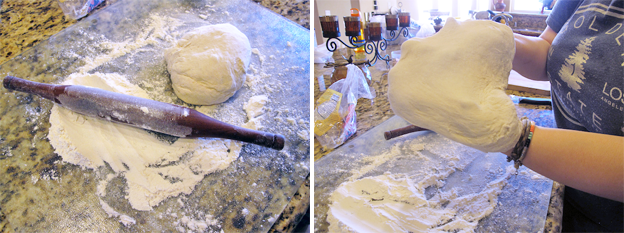
The dough can be a little tough to work with especially if it’s your first time so have a little patience as you start to roll the dough out. To get a traditional circle shape, make sure to be turning the dough as you roll it out. Once you’re satisfied with the length and width of your pizza dough, set it aside.
Tip: If dough is retracting on you, we suggest using your hands to stretch the dough out a bit. Caution, you may get flour all over you like we did!
[tabs]
[tab title=”Step 2: Getting the Oven Ready” icon=”entypo-book”][/tab]
[/tabs]
Every outdoor pizza oven is different, so we highly (repeat highly) recommend you read your manual guide before you continue. Trust us when we say that we definitely had to reference back to it from time to time.
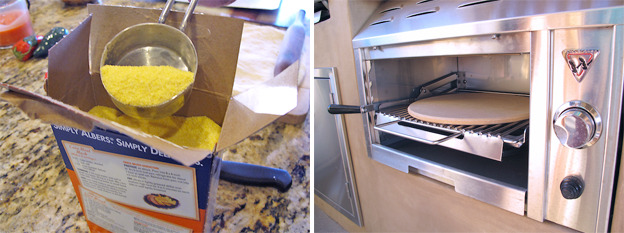
Our manual said to place our pizza baking stone in the outdoor oven, turn the heat on, and let it bake for 15 minutes. Here is where a timer is a must to ensure you don’t overheat your baking stone.
Tip: Make sure to get your cornmeal ready as you’ll be needing to a bit of it on your actual baking stone once your baking stone is heated and your pizza topped.
[tabs]
[tab title=”Step 3: The Ins & Outs of Assembling a Pizza” icon=”entypo-book”][/tab]
[/tabs]
Now everyone has their special way of topping a pizza, so there really is no clear cut good or bad way of doing it. However, we will say that through several trials and errors on our part, we did discover tips and tricks on how to get better pizza results.
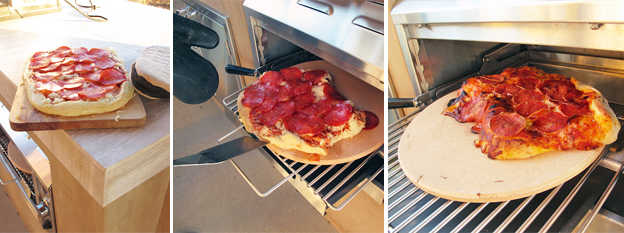
On our first try, we tried transferring the already assembled pizza from the cookie sheet onto the baking stone, but the transfer was unsuccessful despite the cornmeal. We ended up with a very unattractive (and undercooked) pizza.
Fortunately, we found that by assembling our pizza on the actual baking stone, we could avoid any transfer issues when it was time to put the pizza in the outdoor oven. Our second try prove that point.
Assembling:
After a dusting of cornmeal on the baking stone, carefully apply your rolled out dough onto it. Caution: Tread with caution as the baking stone is hot.
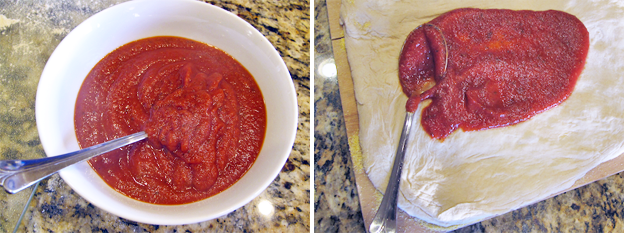
It’s time to add the pizza sauce. Now you may be tempted to over sauce your pizza, but trust us when we say less is more. We poured two to three tablespoons of sauce on the center and spread evenly, stopping just 2 inches from the edge.
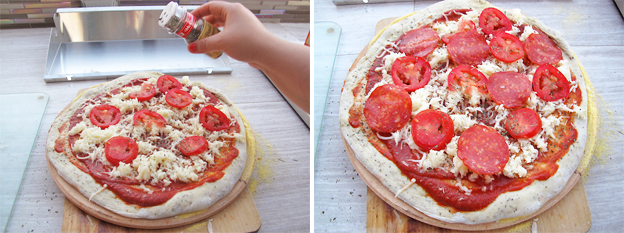
Next sprinkle mozzarella or cheese of preference all around the pizza. Don’t worry if you get some on the crust as this adds extra flavor. Add the remaining toppings. Sprinkle basil flakes or Italian seasoning as a final touch. For a crunchier crust, brush on some Extra Virgin Olive Oil all around the pizza crust.
Put on your oven mitts and place the pizza in the oven.
[tabs]
[tab title=”Step 4: Baking” icon=”entypo-book”][/tab]
[/tabs]
Again, cooking times will differ depending on your outdoor pizza oven, so make sure to watch your pizza carefully.
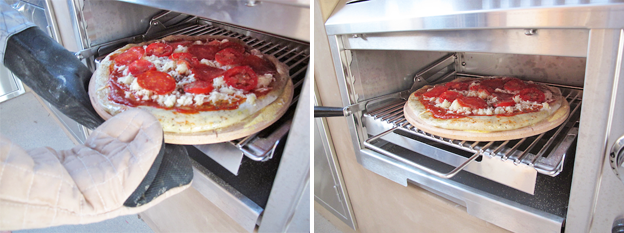
Here is where your timer comes handy. We suggest setting your alarm for half intervals in order to make sure you rotate the pizza as recommended, and ensure your pizza is not undercooked.
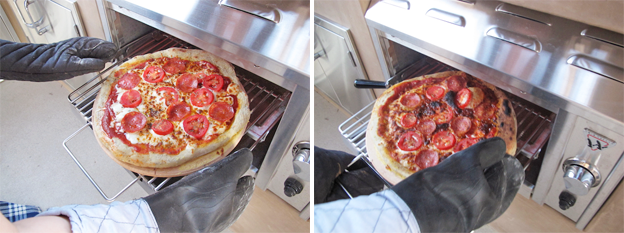
We baked our pizza for 15 minutes (but it can take up to 18 minutes), and rotated the pizza at the seven minute mark. Once you’re satisfied with how your pizza looks, immediately turn off the heat and take it out of the oven.
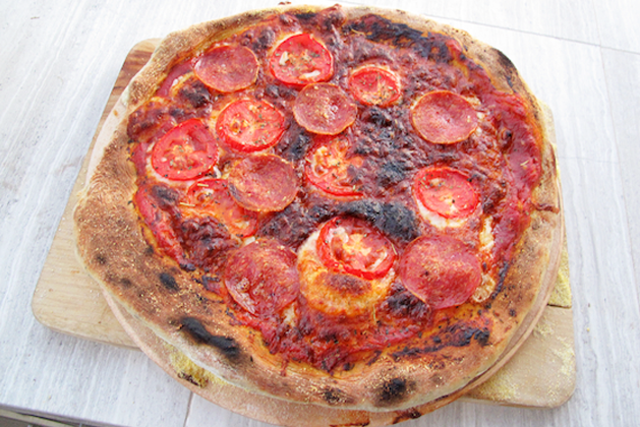
Let the pizza settle for a minute to make it easier to cut.
Tip: Remember, the more toppings you add to the pizza the longer it will take to bake, so try to keep toppings at no more than four.
[tabs]
[tab title=”Step 5: Serve & Enjoy” icon=”entypo-book”][/tab]
[/tabs]
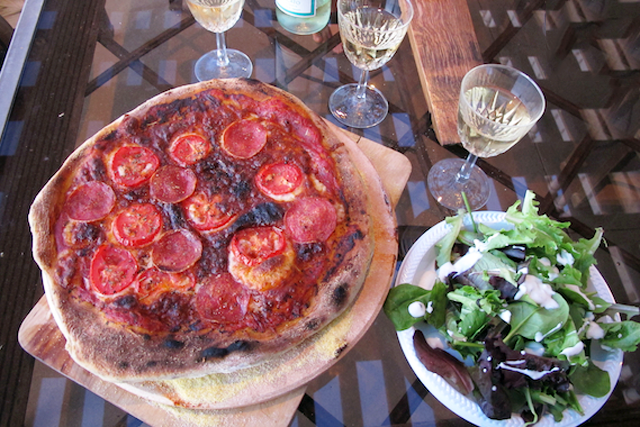
Rather than taking the pizza indoors and eat it in front of a tv, we chose to make it into an al fresco meal. We quickly whipped up a garden salad with light blue cheese (for a healthier option: make a quick vinaigrette by whipping lemon juice, extra virgin olive oil, and pepper). To make it more festive, we suggest pairing your pizza with a nice, light Moscato or red wine.
Bon Appetit!
Although making pizza is harder than it looks, nothing beats the thrill of biting into your own homemade pizza for the first time, and knowing you made it. So go get your hands filled with dough and practice your pizza skills. In fact, why not make this a great summer interactive party by inviting friends and family to try their own hand at making pizza. You’ll get crowned best host, and they’ll get to a whole new culinary experience.