





















Trying to upload a video to Youtube is anything but fun. Often times, we’re left to watch (painfully so, we might add) the progress bar in the hopes our video has progressed from the 3% mark. Many of us have long resigned ourselves to the fact that it just comes with the territory. Wrong! There’s an easier, and frankly, less mind numbing way to shorten our wait time without losing the quality. Here’s how we do it:
THINGS WE NEED
EXPORT SETTINGS
Once we’ve edited our video to our heart’s content, it’s now time to export. But before, let’s look at the right settings we’ll need on final cut pro in order to export our video and make it more compatible with YouTube.
- First Step: Head over to the SHARE tab and click EXPORT MEDIA.
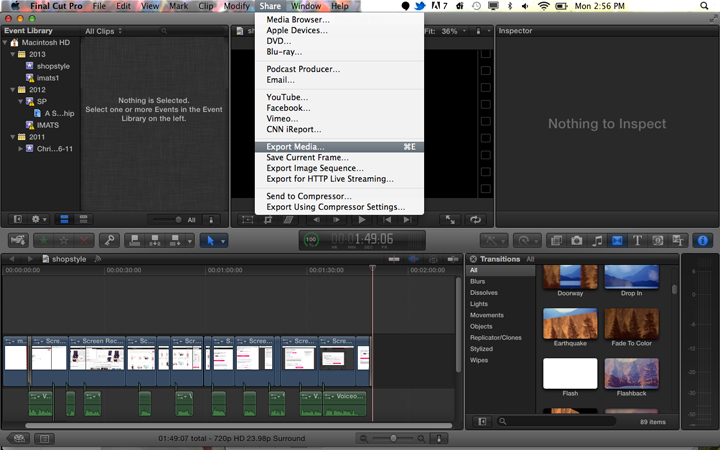
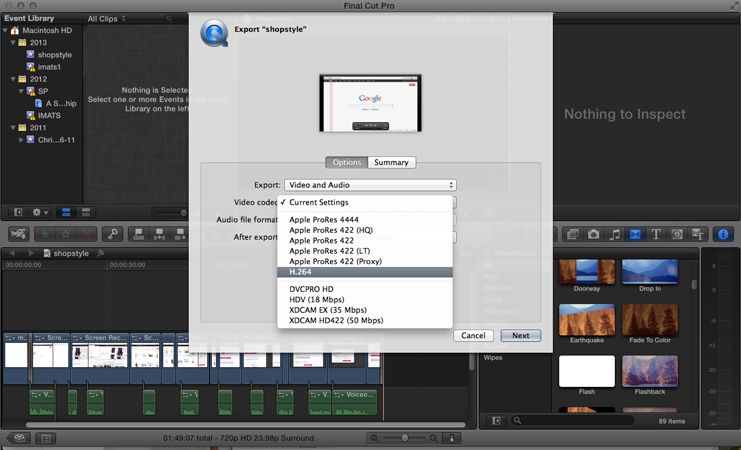
- A screen will pop up where we’ll fine tune how we want your video to export. Here’s the key: Make sure the Video Codec is H.264. And then simply click NEXT.
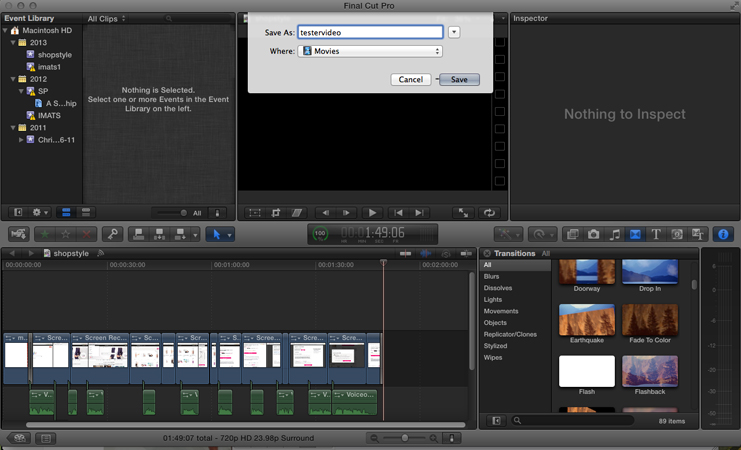
- Last step is to just name the video and save it on the desktop or folder for easy access.
Page 1 of 2